

I am so excited to share how I make the Super G’s with a curved pocket. Some of my favorite ready to wear pants are almost identical to Super G’s except they have a curved pocket and only one seam on the outside leg. I was hopeful to recreate the look. It took a bit of math to get it right, and I'm excited to share so you don't have to think about it for too long. You’ll need the Super G Tights pattern, some tracing paper, and a writing utensil.
We'll make both a curved pocket piece and the add-on piece that tapes to the back leg pattern piece. Start by laying your tracing paper over the original pattern and tracing the “discard section” you would typically get rid of for the regular pocket version. The top line matches up with the size and rise of the pants you are making. The bottom line is where your inseam cut line is.


Add the ⅜” seam allowance to the outside edge on the right side. I also removed some of the tracing paper on the right side because you won't need it for the add-on piece.


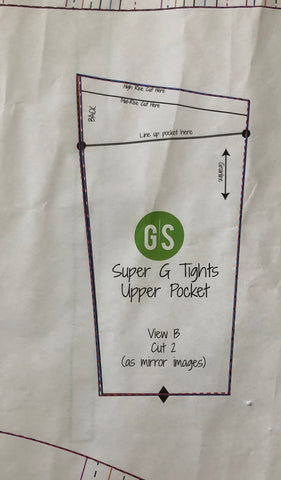
Take the upper pocket pattern piece and put tracing paper over it. Trace the two side lines and the top line.

Draw a curve from the left side down to the right bottom corner. Try to stay as close to the bottom of the pocket as possible, or you’ll miss out on the ample room the pocket provides for larger phones.

Label this as your curved pocket and then cut it out. Draw the seam allowance by marking ⅜” in on the right side of the pocket. This will be important so you can accurately line the pocket up with the add-on piece to achieve the correct curve.

Take your new pocket piece and align the inside seam allowance with the add-on piece's outside seam allowance line. The tops of the two pieces should line up as well.

Trace the bottom curve of the pocket onto the add-on piece as pictured above.
Take the pocket piece away. Your add-on piece should now look like this.

Add the seam allowance for the curve to the add-on piece. To account for the seam allowance on both the pocket and the pants, I add double the seam allowance to the add-on piece to avoid having to remove it from the pocket. Add ¾” to the top of the new curved line on your add-on piece. Then mark out everything above this new line as it will be removed. While not necessary, this helped me to remember where to cut, especially as this add-on piece gets a little messy with all the lines.


Cut the add-on piece out by removing the marked out portion and cutting along the right side down to the bottom of the piece. Cut the bottom at the inseam line.

Tape your back pattern piece to the add-on piece by aligning the top of the back piece with the top line of the add-on piece and the right side of the back piece with the line on the add-on piece’s left side.


Voila! You have your new back piece! Cut two mirrored images out using this new pattern piece instead of the original back piece.
Take the curved pocket piece and mark an inch below the top line. This will be your cut line for the lower pocket piece. I like to just fold the pattern over so I don’t have to have two separate pattern pieces.

 Cut out two mirrored pieces of the upper and lower pocket (i.e. a mirrored set using the full curved pocket, then fold over the pattern at the inch line and cut out another mirrored set). The lower pocket will be the one that ends up on the outside of the pants. You should now have your back/add-on pieces and two sets of pockets, one an inch shorter than the other.

Hem the pocket ½” at the top using a stretch stitch. Then layer the lower pocket on top of the upper pocket. Do this for both sets. If you like, you can baste the curved pocket together on the side curve and straight side.

Take the pocket set and find the coordinating back piece. The pocket piece cutout is longer than the crotch cutout on the back/add-on piece. The back piece and pocket should fit together like a puzzle! Then flip the pocket upside down and align the part where the curve and side meet to the bottom piece’s lower pocket edge.


Continue to match up and clip the pocket piece and the back piece through the curve and to the top portions. Right sides are together. Sew with a stretch stitch using ⅜” seam allowance.

Flatten your piece back out and enjoy your handiwork! Repeat with other side. Also pictured is what it looks like from the back side.


Topstitch if desired.

Finish the leggings by following the rest of the instructions for Super G’s. The front will align perfectly with the back piece.

Enjoy your new curved pockets!


