

Hi everyone! My name is Jenny, owner and blogger at Simplee Lovelee, and I was delighted to be asked to write a guest blog over here at Greenstyle Creations. I was like the proverbial kid in a sweet shop when it came to choosing which pattern I was going to review but eventually settled on the Centerfield Raglan T-shirt because it seemed to have so many variations to the basic pattern.
I poured over the pattern and ordered some fabric and, rather than wait, I set about knocking up a wearable muslin out of some polycotton jersey from my stash so I could get a feel for the pattern. Not only am I novice with jersey, it would seem, I am also a novice at pattern cutting……..can anyone spot the deliberate mistake?! Yes, that is an inside out sleeve! Lesson learnt - don’t try and watch a film and cut out at the same time!!! Oh well, it'll make a great pyjama top!

From the muslin, I knew that I wanted to make the scoop neck shirt as I like something a little lower at the front and also, if possible, I wanted to try and extend the length of the shirt a little bit. Eventually, my fabric came and I did all the tedious pre-washing and drying (remember, it IS worth it!) and set about cutting out and, with such a great pattern as Centerfield, it really is worth tracing your pattern off your original otherwise I think you’ll find yourself printing off a LOT of PDFs and all that cutting and sticking is going to start eating into your sewing time!

It’s great that there is a “lengthen/shorten” line on the pattern which made it really easy to add a couple of inches to the length of the shirt.
Angelyn’s instructions are brilliantly written and cater to everyone whether you are a visual learner or not. The “knit ruler” means that you can confidently choose fabric that you know is going to work well with this pattern and there is even instructions on how to assemble the paper pattern so, even if you are a complete newbie, you can rest assured that this pattern is going to hold your hand from start to finish.


And, whether you are a newbie or not, if you get stuck, there is a great Greenstyle Creations Facebook page where a helpful community are always on hand with a useful tip or two!
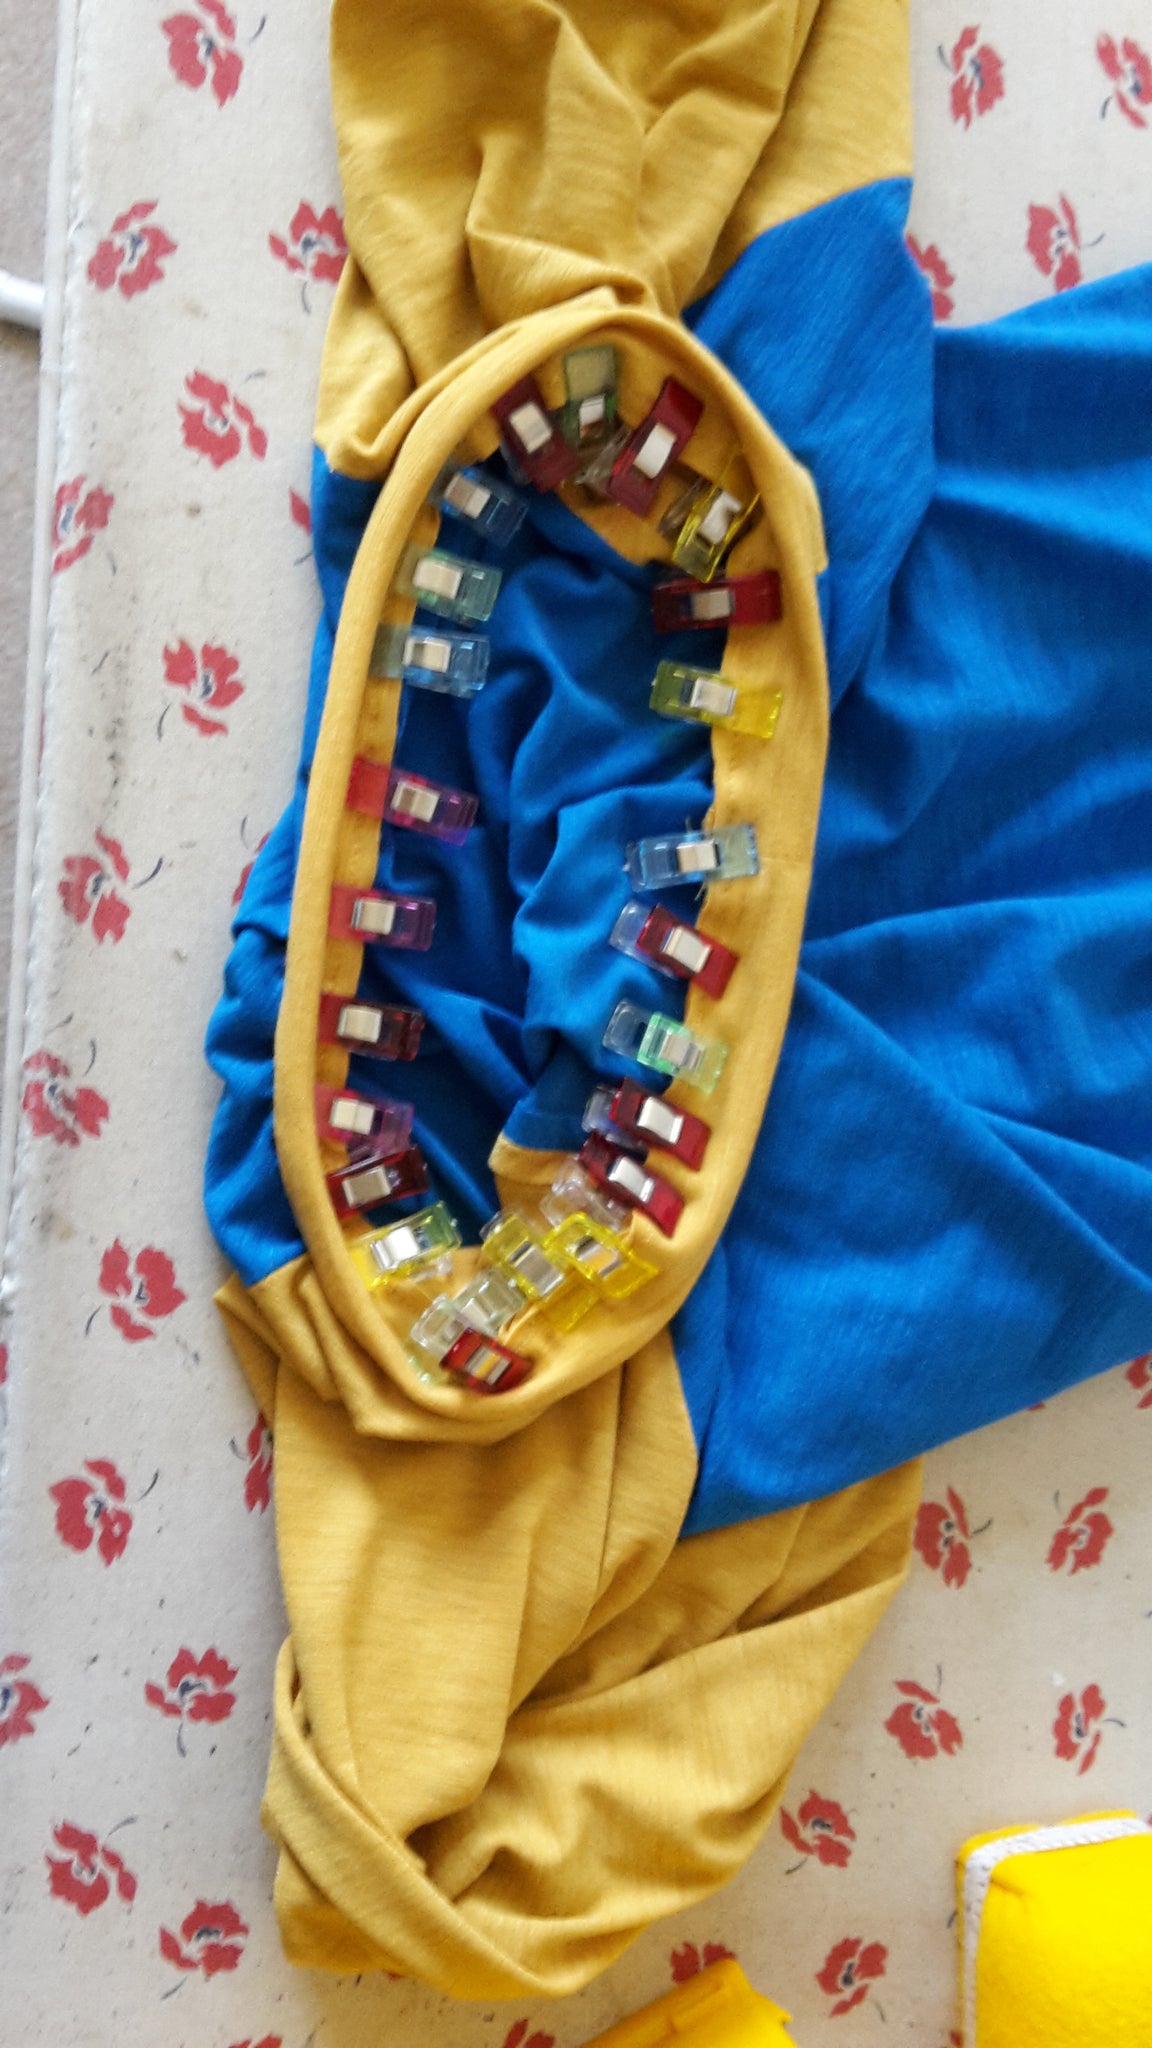
The t-shirt came together so easily………..how hard can it be? Attach sleeves, sew sides together! Just remember to use a stretch stitch if your machine has one. Don’t worry if it doesn’t, a zigzag stitch will do the trick, too. The neck binding is always going to be the fiddly bit especially when using a very fine, drapey fabric like this. The binding will be shorter than the head hole you have to sew it to but just take time stretching the binding gently as you sew.
I chose not to top stitch around the neck because, when I practised on a scrap piece of fabric, I just couldn’t get a decent stitch no matter what I did with tension or stitch length. I’ve also left the t-shirt unhemmed for now. The fabric I used is very fine and a practice hem on a scrap went all out of shape so I’m leaving as is for now, after all, jersey won't fray! I’m very happy with how it turned out.....I like that the couple of extra inches I added mean that I can have a bit of "gathering" over my belly as, otherwise, it is a very snug fit. I would make sure you use a fabric with 4 or 5% of spandex/lycra at least, if not, it might be wise to size up, especially if you are large chested like me.

I like it so much I made another one in the reverse colourway!

I love this pattern! For the money, you get so many adaptations…….different sleeve lengths, ruched sleeves and sides and instructions how to do these. There is also an add on available for a cowl neck and hoody so there is no reason why you couldn’t build a whole wardrobe using the Centerfield alone. I see many Centerfields in my future - I already have one more cut out and fabric on order for even more! Be sure to stop by my blog and see what adaptations and hacks I devise!
Well, that’s all for now. I hope you’ve found this useful and go out and try this pattern. Thanks to Greenstyle for having me! I have to admit I now have a bit of a sewist’s crush on these patterns so maybe you’ll see me back again soon talking about another one!
Until next time……..


