


Everyone who knows me knows I have to have pockets in every outfit. My hands do not know how to function when I wear something without pockets, so I have stayed away from all the cute leggings with no pocket option. And even though there are so many cool ways to put a pocket in the back waistband for your phone, I need somewhere to comfortably store my hands while I'm standing and chatting. More importantly, I use side pockets to hold my mic's battery pack while I teach barre at our local fitness studio.
So as I was falling asleep the other night, I had a great idea for a way to include side pockets into the sundials, and I was very excited that my experiment turned out to be a success. I'll walk you through how to add pockets to your own leggings without an outside seam. It's more simple than you might think!
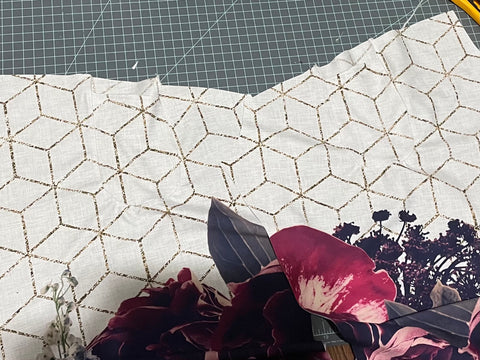
You'll need a piece of paper to make your pattern pieces and a ruler. I used some scrap freezer paper.
Draw your pattern pieces

I traced around my phone to see about how big I wanted my final pocket to be. Be sure to round the bottom corners out. Then transfer the top line from your leggings pattern piece so you can mimic the top angle. Cut this piece out and label it your cut piece. We will now add the seam allowance in two ways. Trace around the cut piece with a 3/8" seam allowance on the two sides and bottom, but keep the top angle the same. This is your pocket pattern piece.


Then take 3/8" off your cut piece, except for the top.

Cut off the excess seam allowance. Your will now have one big pocket piece and a smaller, skinnier cut piece. If you laid the cut piece on top of the pocket piece, there would be a 6/8" difference around the sides and bottom. Mark the middle of the top line of your cut piece.

Cutting out your pockets
Find the center of your top line on your full leggings piece. You can either do this directly on the pattern or on the actual fabric. Align the top centers of the leggings with the cut piece. Use the pattern piece as a guide to cut out your pocket shape. Make sure to do both sides of your leggings and flip your piece to match the top angle.

Then use your pocket piece to cut out two mirrored image sets. You can use your cut out fabric to pattern match if needed. Take one set and fold down the top 3/4" and then hem. This will be your outer pocket piece.

Take the outer pocket and place it on top of the other piece, aligning the bottoms and sides. I show two different pairs here just so you can easily see the actual fabric pieces. If you would like, you can baste these two pieces together so they do not shift.


Sewing the pockets
Match the pockets to the correct leggings piece. Then flip your pocket (acting as if the two pieces are one) to the left and start to pin. You can pin all the way around, or stop before you pin the curve and then work on the right side and then pin the bottom curve. You might have to stretch the bottom curve ever so slightly. You should end up with a big curved pinned pocket. I used clips to hold this in place.

Use a stretch stitch to sew both pocket pieces to the leggings. You can topstitch if you like.
Here are my two examples of how your pockets should look after you've sewn them in. The white ones are a little difficult to see.

Follow the rest of your pattern and enjoy those pockets!


Comments
Could you post a photo of the phone in the pocket? It’s hard to visualize how the pocket should be drawn in relation to the phone. Is sitting comfortable with this pocket placement when there is a phone in there?
I wish there was a video I want to try this but I’m confused with the pinning not sure how to I’m one that learns from setting better than reading
Where do you get the extra fabric for the pocket? I am not understanding this.
This is genius and your instructions are excellent. Thanks
This is really useful. Thank you for sharing