Moxi Hack
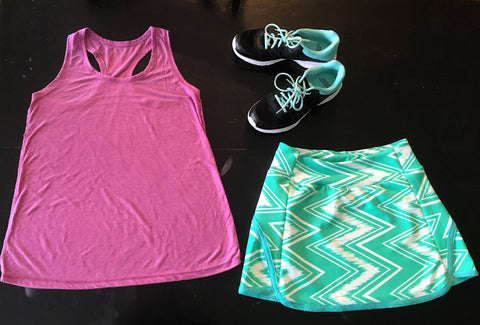
If you love them Moxi shorts, you’re going to love them as a skirt. This skirt is perfect for running in, for wearing to the beach over your swimsuit, or to keep cool in the summertime. Follow this tutorial for the step-by-step instructions!

The key points in turning this short pattern into a skirt are as follows:
- Omit the crotch on the front and back
- Adjust the back curve to accommodate the skirt shape
- Add length (optional depending on the look you’re going for)
SO the pieces we will be altering are: front, lower back and upper back
**The waistband remains unchanged **
Pattern Adjustments
Print your pattern in the size you need and piece it together (remember that fabric choice will affect the sizing on this)
Note: I taped my original pattern pieces to a piece of wax paper, because I am adding length and changing a few angles, so I need paper behind it to add these.
Front Pattern Piece
- Omit the crotch by taking a ruler and drawing a line from the top edge, straight down. Add a fold line to the outside edge of this piece, as you will cut one skirt front on the fold.
- For the outside edge, I measured in 1” on the bottom edge, because I didn’t want the skirt to have as much of a flare. I used a ruler to draw a line from the top outside edge to the 1” mark I made at the bottom.
- I added 5” to the length. I measured down from my bottom edges 5”, and every so often along the edge so that I’d be able to make the edge the same as the original. I then drew in the bottom line.

With line drawn in:
Lower Back Piece
**I taped this piece at an angle on my wax paper, so I could square up the lines for the skirt a little easier. **
- Draw a line using a ruler from the top edge of the crotch, straight down. Add a fold line to this edge.
- Draw a line at a 90* angle for about an inch at the bottom.
- On the other side of the pattern piece (outside edge), measure ¼ ” out from the bottom edge, and then 5” down from that point follow the top curve of the piece to meet your new marks.
- From the line you made 90* from the CB edge, draw a curved line until you meet the new outside edge mark.

Upper Back Piece
- Measure down 1” from the bottom of the piece at center back.
- Take your lower back piece and put the top where you measured 1” down. Make sure the center back edges are lined up.

- Trace the curve of your lower back piece, until you reach the outside edge
- Draw a line ½” over towards the outside.
- Take a ruler from the top outside edge of the upper piece and trace from that point to the bottom point ½” out from the edge that you just marked.
- Add ⅜” to the upper edge and blend the curved line at the top.

Now you can cut your modified pattern pieces out, as well as your fabric.
Constructing the Skirt
- Sew your front piece to the upper back piece at the side seams. You will now have a tube- like piece.


- Add bias tape to the bottom edge of this piece. (For instruction on how to make and attach the bias tape, refer to the Moxi pattern tutorial that comes with the PDF pattern).
- Add bias tape to the bottom edge of the lower back piece.
- Attach lower back piece to the rest of the skirt. I like to add a bottom row of stitching to the bias tape to attach this piece, but you can also tack it as the original pattern suggests.
- Add your waistband as directed in the Moxi pattern instructions.
And now you have an awesome skirt to use, just in time for summer!


Comment
Could you do a tutorial on how to make a skort?