
Since we will be hemming today, I thought I'd share a couple tips for hemming knits. Knits are great because they don't fray. So you can just fold up the edge and stitch if you want. But, I like to have a but more finished look. So even though it doesn't need it, I typically serge the hem before I fold and stitch it.
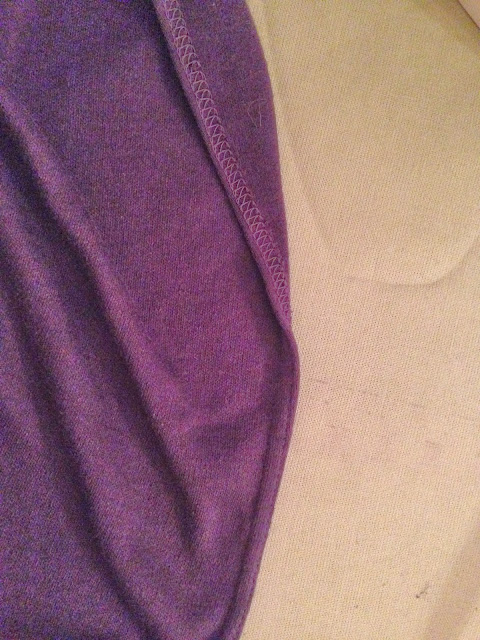
You can simply do a single stitch hem, but if you want a more "off the rack" look to it, you can also do a cover stitch. A cover stitch is the double stitching you see on the hem of most ready to wear t-shirts and knits. Some higher end sergers will do a cover stitch or you can get a stand alone machine. This is what a cover stitch looks like:
Don't have a cover stitch? That's ok! You can do a faux cover stitch. I do these one of two ways; two rows with a regular needle or one row with a twin needle.
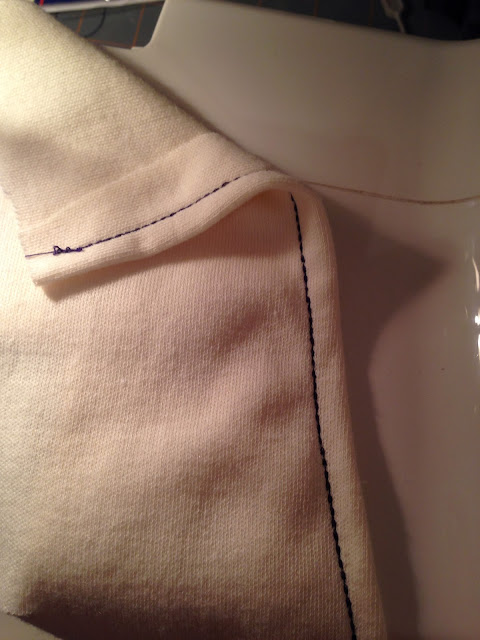
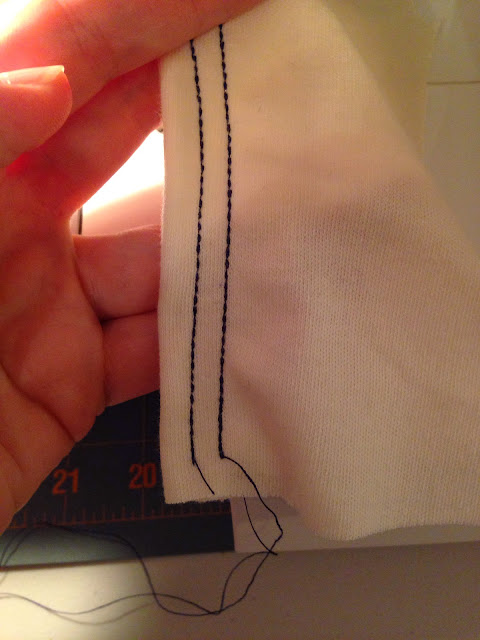
To do a single needle faux cover stitch, all you do is hem over your edge (either serged or not, your preference) and then sew a single stitch along the hem of the garment.
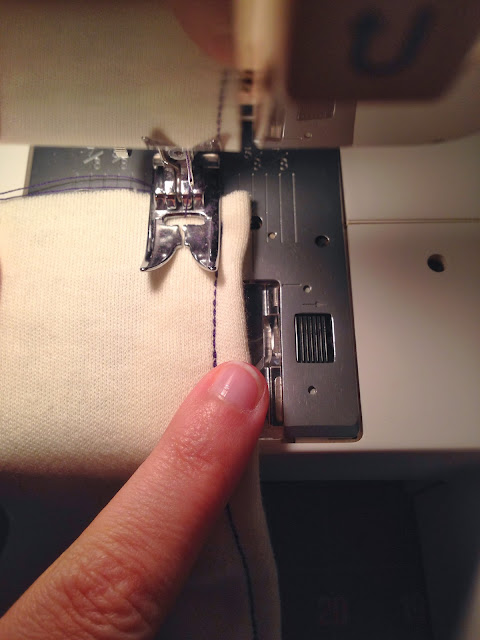
Then, using your pressed foot as a guide, sew a parallel stitch along the hem again. Like this:
When you're done, the bottom hem will look like a cover stitch from the outside, and nobody should be looking at the inside of your hem anyway!
Using the edge of the presser foot does give you wider rows of stitching, but my eyes are too crooked to do it without a guide to follow :)
Another option is to use a twin or double needle.
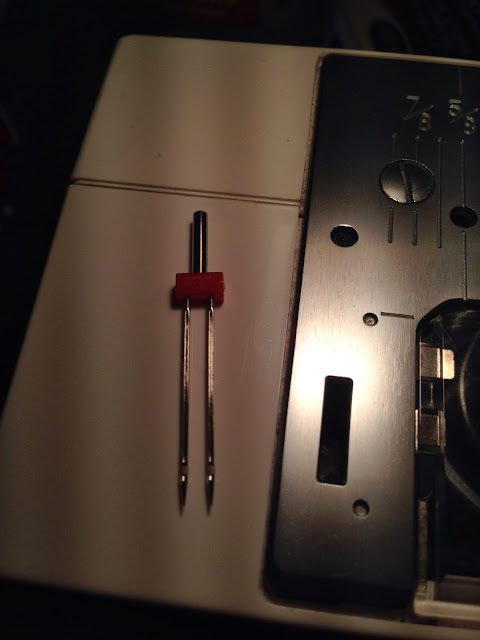
To use this little guy, you simply load a second spool of thread onto your machine and thread both pieces through your machine as normal. The bobbin is left as is, unless you want a slightly stretchier stitch and then you can load it with wooly nylon.
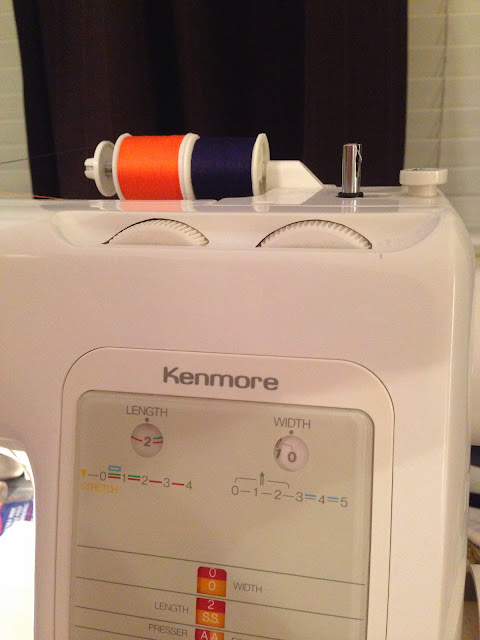
I put both of my spool on the same holder, but most machines come with a second peg for holding the second spool.
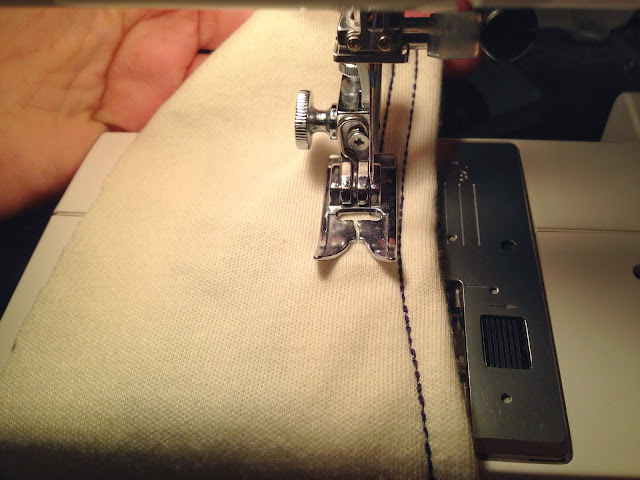
Then you just stitch along the hem as normal.
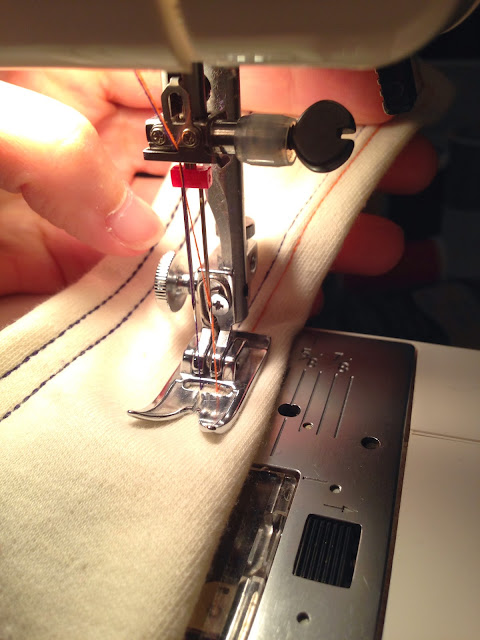
This is what it will look like:
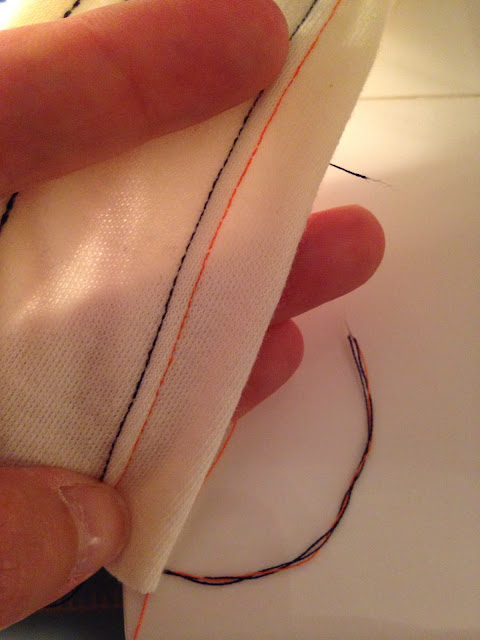
And there you have it! A nice, even and narrow faux cover stitch!
That's all for today, so let's get sewing!
See you tomorrow to start on the Aspen pants...
Sarah

